For years, I have been saying, “You know, if I had a 3D printer, I’d just make that,” while pointing at some small broken thing I can’t find a replacement for. There are game pieces I have needed to replace and can never find. There are simple plastic holders and fasteners that should only cost a few dollars but become cost-prohibitive when you add the ludicrous shipping fees. Ideas are rattling around in my head that simply don’t exist and never will if I don’t make them myself – if only I had a 3D printer.
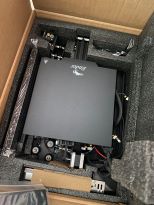
Well, I guess I said it out loud enough times that one magically appeared under the Christmas Tree this past winter. After setting it up, doing the alignment, and generating a few test prints, I started looking through my list of repair projects that have been on hold for lack of parts.
The one that annoyed me the most was a collar for our Margaritaville blender. This slightly custom blender collar can be bought for about $7 USD, but the shipping brings my landed cost up over $50, so.. uh, no. A quick search found several 3D models for this exact part, so apparently, I am not the only person with this same frustration. It seemed simple enough to just download the model and push it to the printer, but oh, how naive that notion was.
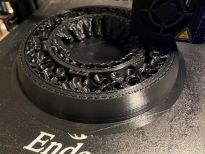
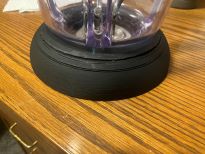
This is the chapter of the story where the hero finds out he brought a knife to a gunfight. Learning about supports and infill patterns, wall thickness, and flow rates would probably have been better done on a less complicated part. In hindsight, this was probably good as I had to learn some complicated tuning on my first real project. Once I figured it out and upgraded my tools, things started to fly.
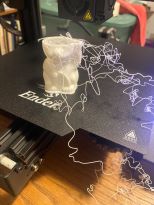
The blender collar was complicated and took four attempts to get right, but even with those experimental failures, the cost of producing a perfect-fit replacement was only $1.73, saving a lot of money.
Let’s pause here for a minute to talk about actual costs. Ignoring the actual printer cost, the raw material cost is all in the filament. The printer is a tool that can be amortized over hundreds of projects, but the filament is the raw material that actually becomes the product. I pay about $23 per kg for PLA and $27 for PETG. This means that PLA parts have a cost of $0.023/g, and PETG is $0.027/g. PLA can be used for most projects, but in cases where high temperatures will be an issue, I use PETG or ABS. The blender collar mentioned used 75 grams of PLA, which translated to a material cost of $1.73, but if you include the 3 failed attempts, my total production cost was $4.72. Still a tenth of the cost of having it shipped, and I’ll chalk the waste up to the cost of education.
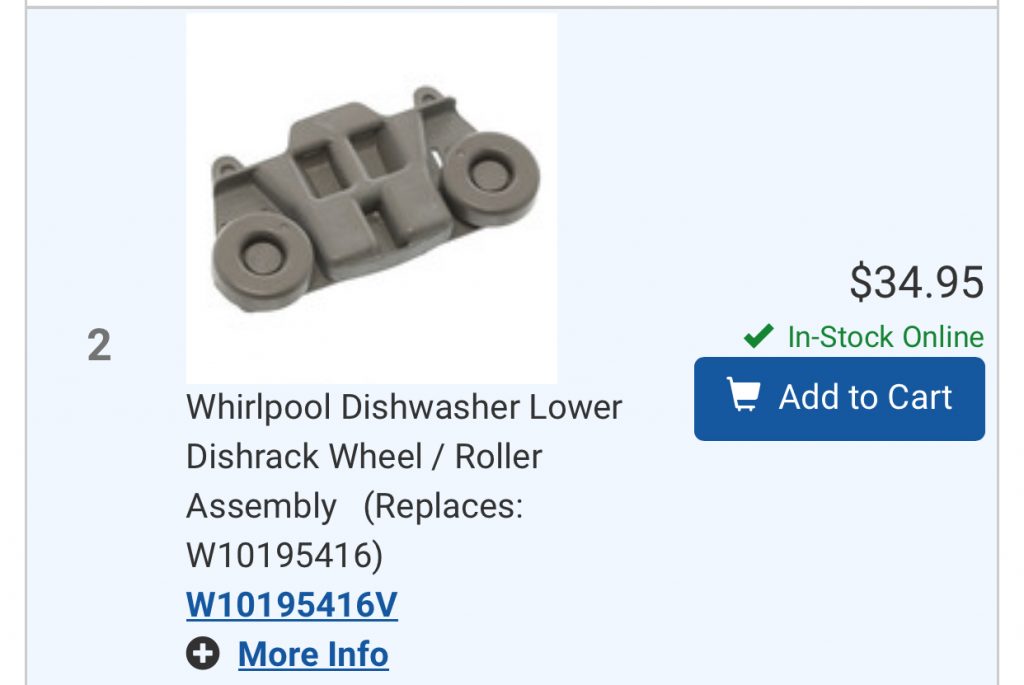
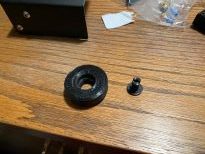
Next on my list was the broken wheel on the dishwasher tray. If you order the part, you need to order the entire assembly, not just the wheel, and when you include shipping, this gets up in the $45 range. Again, the 3D model for this was easy to find, and when printed with PETG for the high temperature, it only cost $0.19 (7 grams) to produce. By this time I was able to do it in only one pass.
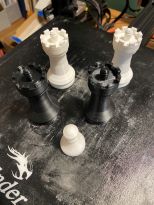
Then there was the 40-year-old chess set that was missing both black rooks. Sure, I could have just bought another chess set, but this one has some sentimental value. This was also the first project where I needed to modify a model because the only available ones were too large, and the scale would not work. I was able to do some basic resizing with Ultimaker Cura, but these were simple alterations. A complex design edit or build will need a different tool and will be a completely separate blog post. In any case, I wanted a matched set, so I made 2 white and 2 black rooks. These weigh in at 9 grams each, and I built these with PLA, so the total cost for all four was ( 9 x 4 x $0.023 = ) $0.83. Yep… 83 cents.
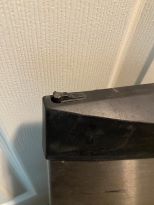
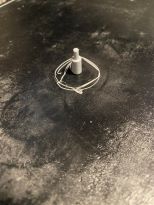
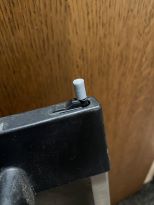
The final nagging project that has been waiting for a fix was the BBQ door hinge. This is a fairly big piece and will not fit on the printer in one piece, but it was really just the hinge pin that was broken. I was ready to spend the $21 to get it here (including shipping), but it seems a shame for such a small fix. What I did instead was to print a single peg from a battleship game model. I drilled a suitable hole in the top of the door part big enough to insert the pin into it. The stars aligned, and this was a perfect fit. This was literally less than a gram of PETG to make (3 cents), and it held together with Krazy glue. I am amazed that this worked, but it is a nice way to end the post.
I have several bigger ideas now that need to get out of my head and onto the printer queue. I’ll update you on how that goes.
If you enjoyed this read, it would be great if you could please
~Tom

Leave a Reply